I awoke this morning to the great news that Veeam Backup and Replication 9.5 Update 4a Community Edition expanded the features of their free model greatly.
According to their update post here…
The NEW Veeam Backup & Replication Community Edition is the must-have, FREE solution that provides host-based backup and replication for VMware, Hyper-V and AHV; as well as an agent-based backup solution for Windows and Linux workstations and servers – whether they are physical computers or running in the public cloud. It offers a tremendous set of capabilities and is significantly more powerful than its predecessor (Veeam Backup Free Edition) or any other free backup product on the market. In fact, it is even more powerful than several paid backup solutions offered by other vendors. This is our gift to you and there are no strings attached — you are free to utilize the Community Edition any way you want — be it for your home lab, or for your critical line of business applications in case of IT budget constraints.
Personally, for my home lab, I’ve been looking for a backup solution for a while, since Windows Server Backup started giving me headaches. I’ve looked at Unitrends (1TB local backup free, but 500GB of it is only after signing up for a community account, which conveniently, was broken), Windows Server Backup (which works fine for smaller data sets, but large data, it was getting bogged down), and Vembu (which uses their own special file system, not sure it can be trusted).
Just a note about licensing, you get 10 licenses for the free version. Windows Server (maybe Red Hat as well) counts as 3. So for instance, if you had 3 desktops (3 licenses) and two Windows Server instances to back up (3 each, so 6 total), you’d use 9 of your 10 licenses.
When using a Hypervisor, though, this changes. Each guest counts as 1 license no matter what, so 10 VMs is the limit.
Downloading Veeam BR-CE
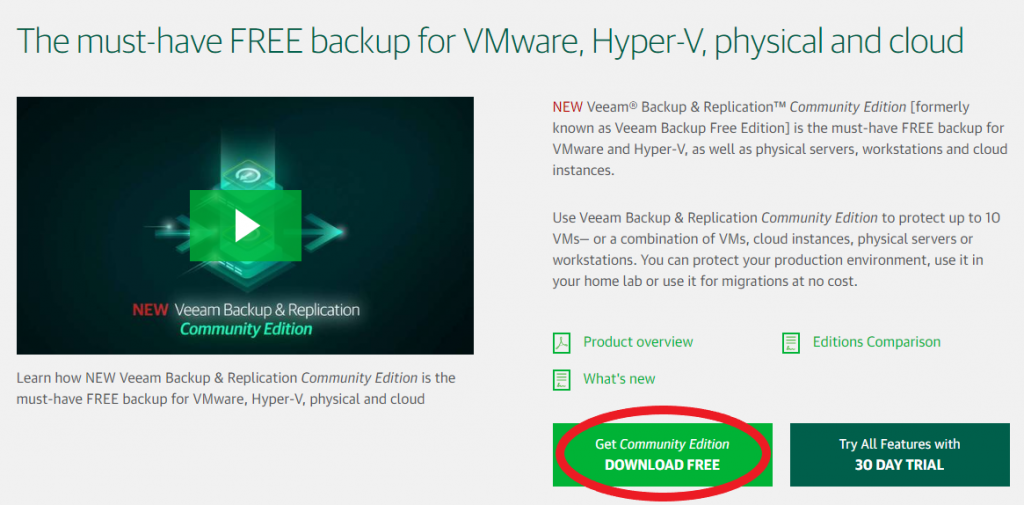
Visit the Veeam BR site here and click the green Download Free button
Sign into your Veeam account (or create one if you don’t have one yet)
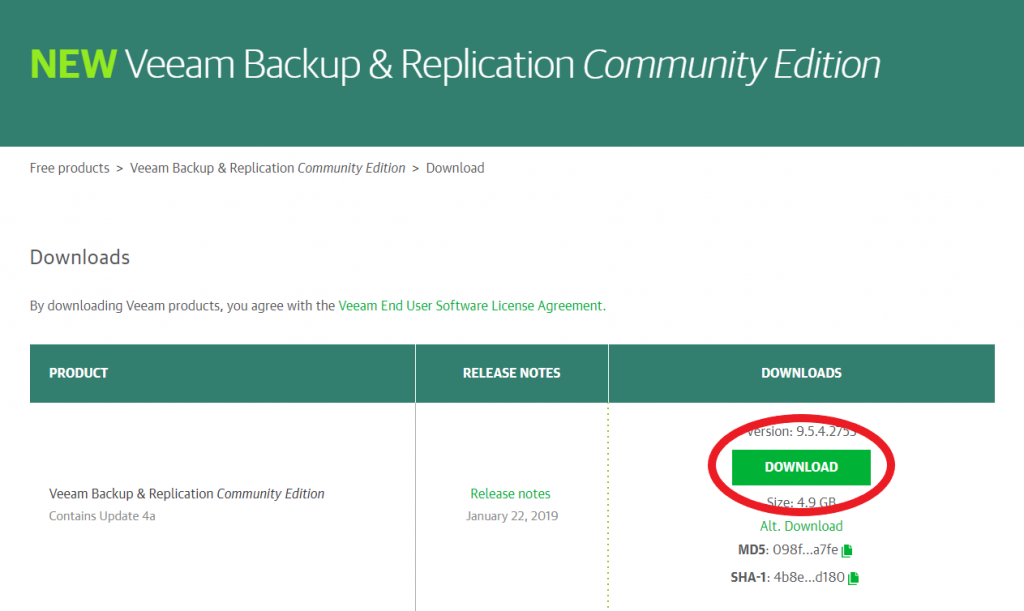
Click the big green Download button
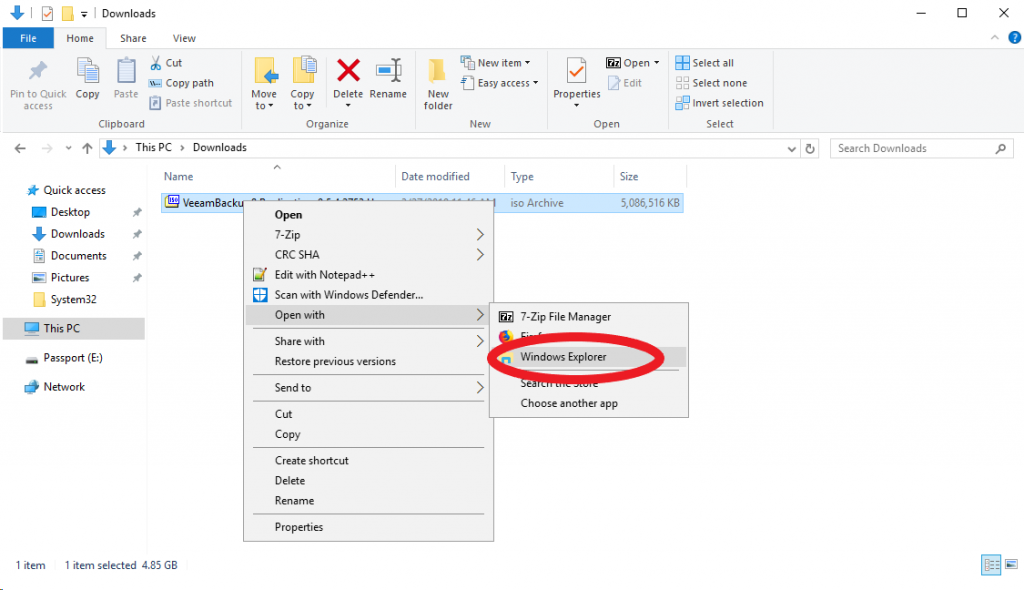
Mount the downloaded ISO
Run the setup

I personally won’t be needing Veeam Backup Enterprise or a console-only install, so I’ll chose the Install Veeam Backup & Replication option

Accept the terms

Click Next on the license screen to continue in Community Edition mode

Just install everything

Install any missing features by clicking the Install button

After installing all missing components, click Next

Change the default settings if you like. I will leave these as default.

Once the install has finished, click Finish

Launch Veeam Backup and Replication 9.5 and click Connect

Apply any component updates by clicking Apply, then Finish once it’s completed

Setting up your Hyper-V host to perform backups
At this point, Veeam Backup and Replication should be fully installed on your backup server (in my case, this is on my hyper-v host, as I don’t have a dedicated backup server). Let’s get our Hyper-V server configured to perform backups.
In the top left corner, click Backup Job, then Virtual Machine
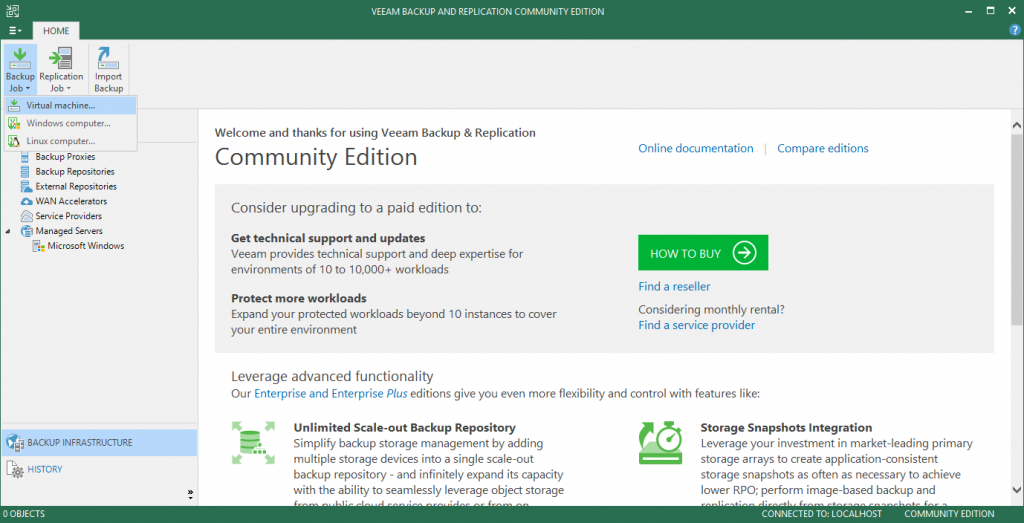
Click Yes on this prompt. We will be doing hypervisor-level backups, as stated in this information blurb. Next, we’ll be registering our Hyper-V host or cluster.

Let’s add our Hyper-V server

Enter the DNS name or IP address of your Hyper-V host / cluster

Pick your server type. For my case (single host), I’ll be choosing the third option

You will need to add a set of credentials into Veeam that has local admin permissions on your Hyper-V host. In my case, I’ll be making a local user account and adding it, as I don’t want to rely on AD for this. Click Next when finished.

Let’s install the Hyper-V Integration component by clicking Apply.

Click Next after the Hyper-V Integration setup has completed

On Summary screen, save a copy of this info for your records

Configuring your backup job for your Virtual Machines
After Finishing the previous step, you will be prompted to create our backup job. Name the job whatever you’d like, then click Next

Add the virtual machines that you want to backup. Click Add, then select the Virtual Machines that you want backed up and click Add. Click Next once you’ve finished choosing your machines.

In the Storage section, this will depend heavily on your setup. If you’re running a single-host setup like me, choose “On-host backup” for the backup proxy.
Veeam will create a backup repository automatically (I believe it targets the largest drive available during the installation). For mine, it chose a previously-created Storage Spaces mirror. If this isn’t correct, you will need to close this wizard to drop back to the main Veeam BR screen, then click Backup Repositories on the left, then create a new Backup Repository. Once you’ve created a new Backup Repository pointing to your storage volume, target, share, etc., you can restart this section of the guide by clicking Backup Job in the top left corner, then select Virtual Machine.

To configure Advanced settings for your backup, click the Advanced button and configure as preferred. For my setup, I made changes to the following settings:
- Maintenance > Perform backup files health check, monthly on the last Friday of every month
- Hyper-V > Enable Hyper-V guest quiescence and Take crash consistent backup instead of suspending VM
Once you’re finished making any changes, click Next
On the Guest Processing page, these options are again dependent on your setup. Enable application-aware processing will automatically truncate SQL logs on servers you select, as well as truncate Exchange logs. I believe these are the only two applications that Veeam is aware of and will handle. Enable guest file system indexing will make searching for individual files faster when restoring, but is not required to perform file-level restores. Windows and Linux have partial support, depending on file systems and drive encryption. This option requires a user account that has permissions on the guest OS. If you enable these features, you will need to configure them in their respective menus.
For my installation, I will check the Enable guest file system indexing option and leave the settings for it at default.
I also need to add my Linux and Windows credentials, then click the Credentials button to specify which account to use on which machine. This lets me pick my Linux root credentials for my Linux boxes, as well as use a Domain Admin account for my Windows boxes. On each VM (you can also select multiple), click the Set User button on the right and select which account should be used for that VM.

On the Schedule screen, select the schedule that you’d like to run your backup on. Again, this is preference. When you’ve made your selections, click Apply.
On the Summary screen, you can choose to run your backup job after finishing by checking the Run the job when I click Finish box.
Summary
Veeam makes a handful of great products, and Veeam Backup and Replication is no exception. For those who run a home lab like me, it’s a godsend to be able to run consistent, reliable, scheduled backups that just work. Finally, someone has stepped up and offered something to homelabbers, and personally, I’m glad that Veeam is just the right company to do it.
0 Comments